
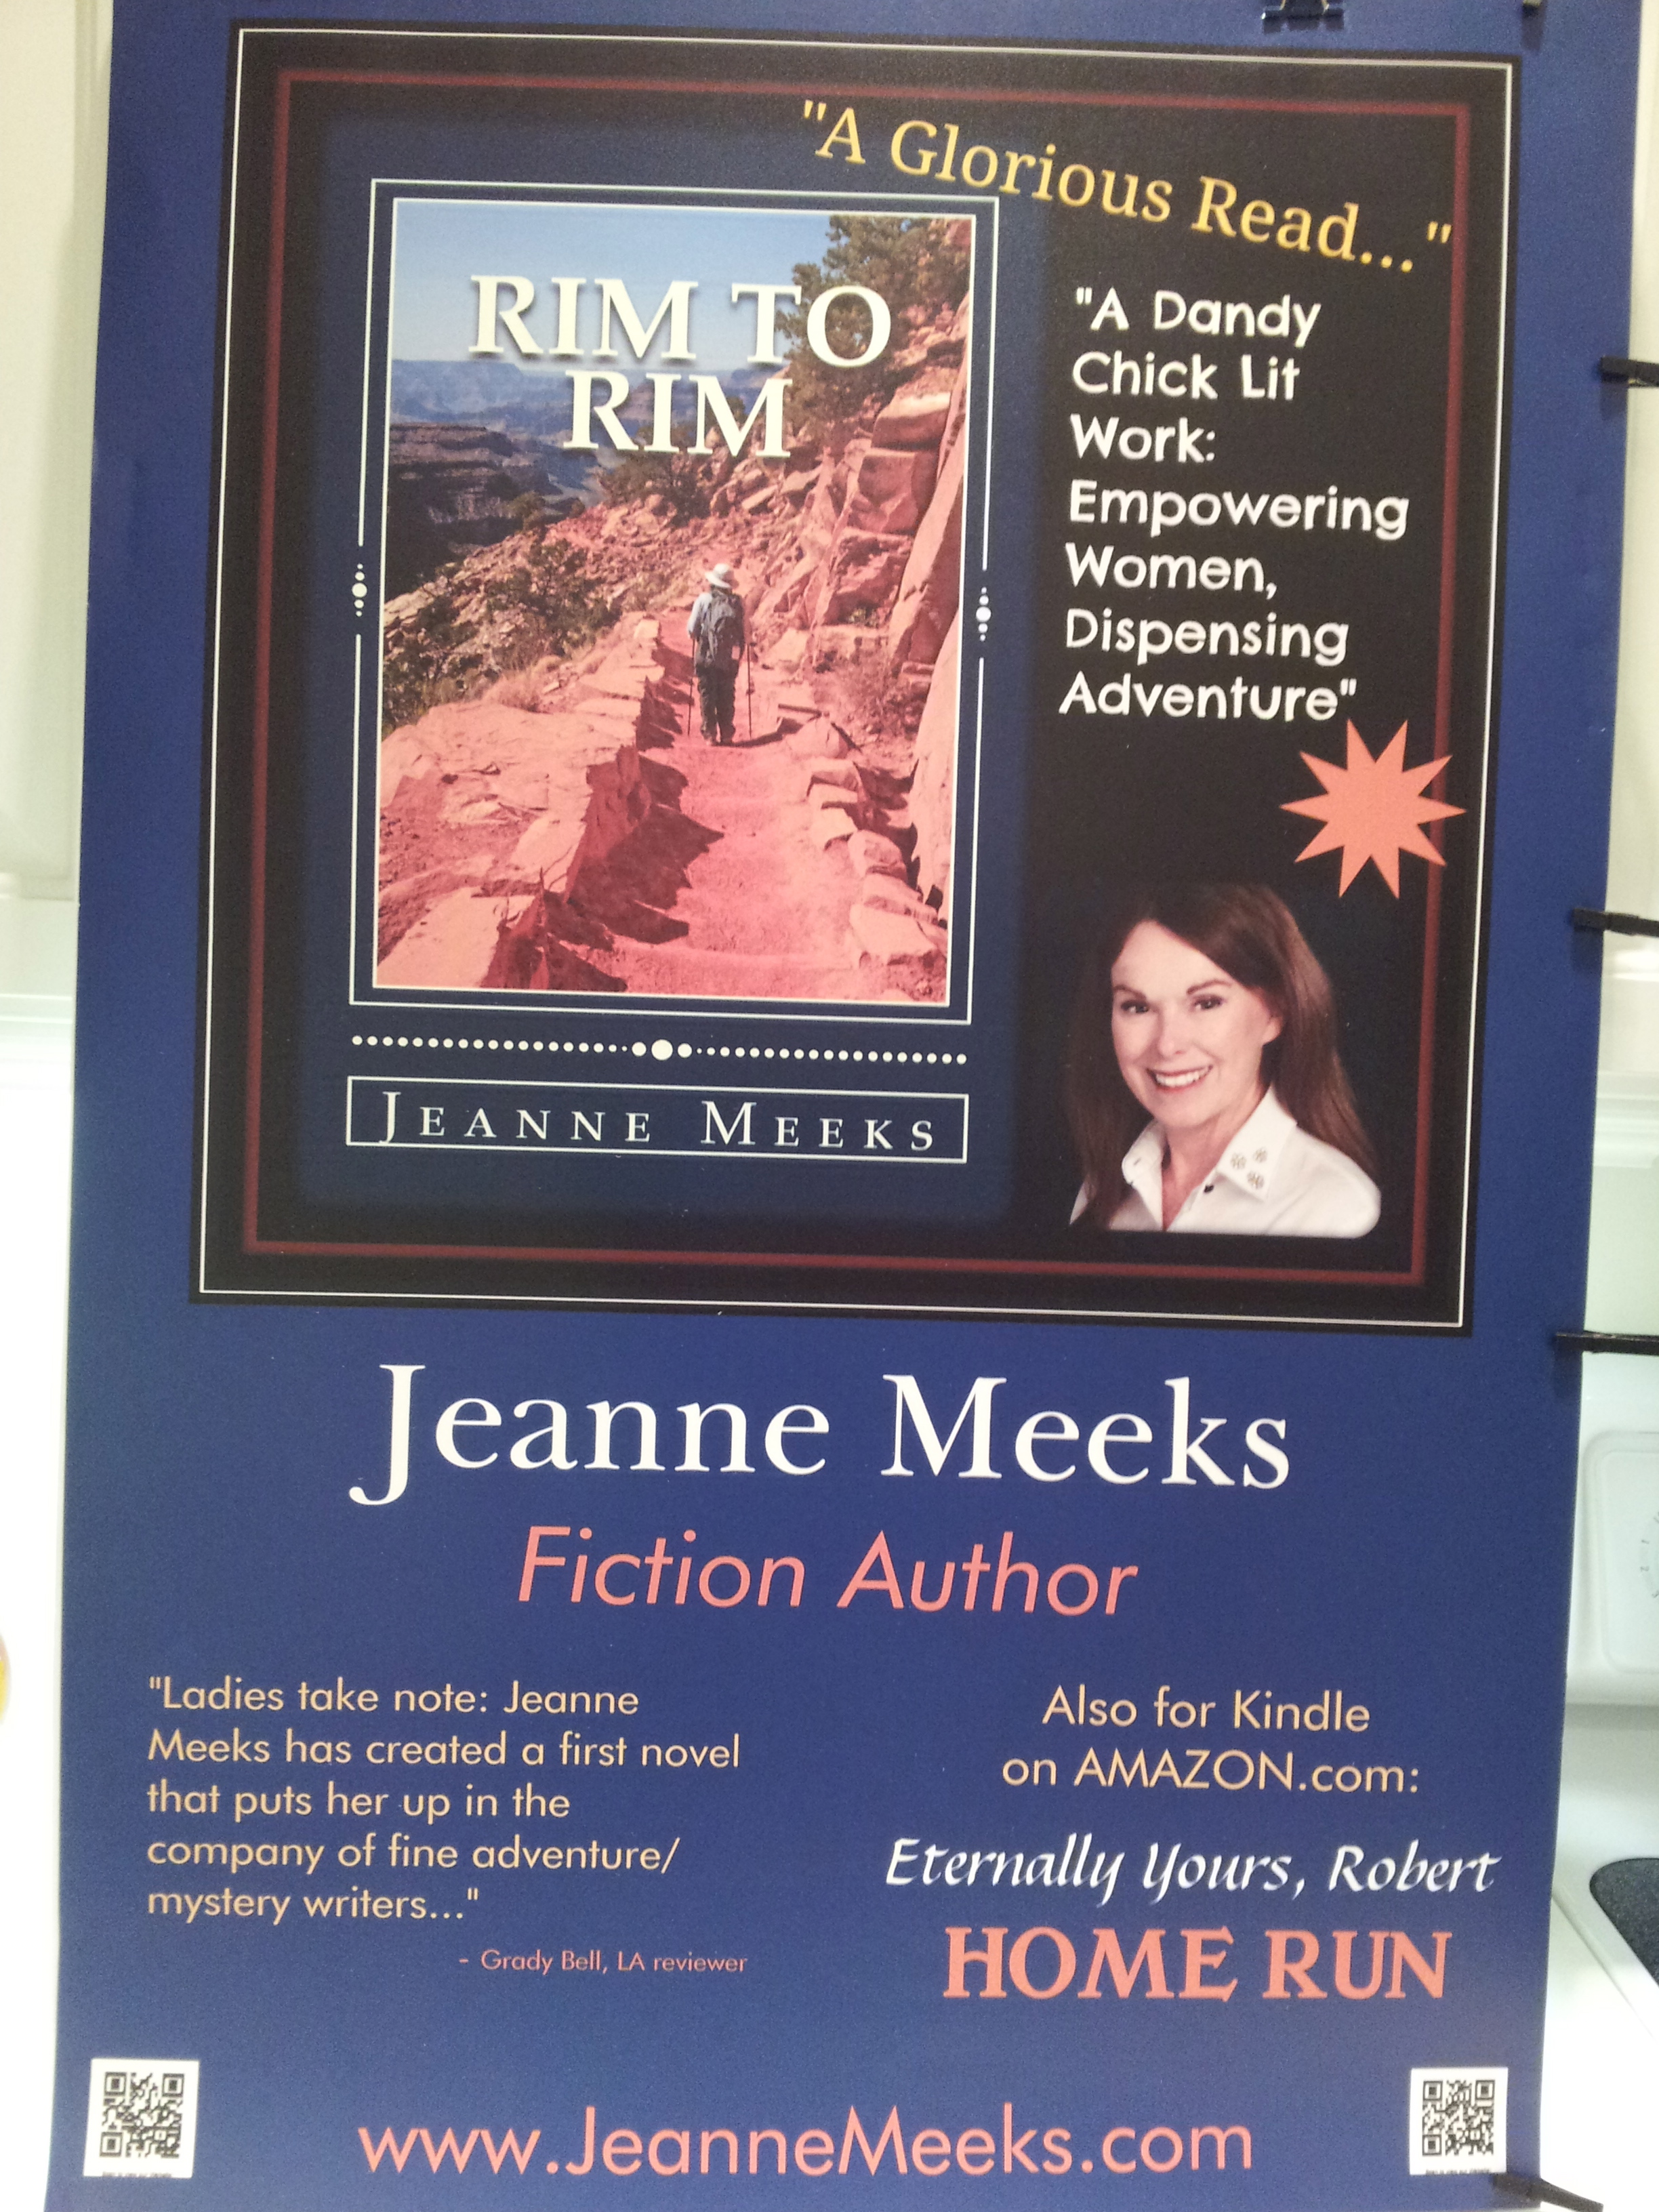
You’ll look famous and stand out from other vendors when passers-by see your name and picture on a big poster. Impressive posters are neither difficult nor expensive to create and you’ll get much needed attention for your book signings.
Here’s how I made this poster using my book cover image and free photo editing software:
1) Base layer
Go to www.picmonkey.com and click on “Design”. On the left hand side choose “Canvas Color” and select a color that highlights or contrasts a color in your book cover.
2) Text Area
In the bottom 1/3 of the canvas arrange the information you want customers to read. From the left hand side click on the “T” (Text). Type your name in the box that appears and drag it to the desired position. Highlight your name again to choose size, color, and font for your name.
Add How-to-Buy information, a quote from a reviewer, or your other titles. Vary the colors and fonts to create interest. You may change and move each of the elements at this stage, but once you click “Save“, they’ll stick. You may return to a saved image later to add features or cover over a “mistake,” but you won’t be able to move text or change the canvas color once it is saved, but it’s easy enough to start a new image.
3) Save your base layer.
Click on “Save to your computer” and give your new jpg. file a descriptive name (blue canvas).
4) Book Cover Area
At the picmonkey site again choose “Design” and select a canvas color that looks well with the base layer canvas color and your book cover. To put a bit of color around the area, add a frame. Click on the icon of a frame on the left hand side. Play with various styles, colors, and widths as much as you want, but once you click on “Apply”, that frame style will stick.
5) Add Book Cover
Click on the butterfly to get “Overlay” options. From the top of the list choose “Your Own”. Retrieve your book cover jpg file from your computer files. Press open. Resize the photo to fit the area you want filled. Add your author photo in the same manner.
6) Add Text
Trumpet your triumphs, quotes from reviews, awards won, etc. It’s best to put each unique idea in its own text box. Tilt text boxes by clicking on and dragging the small circle positioned at center top of the box.
7) Add space fillers and symbols
Choose “Overlays” to browse available shapes such as the star. Other Overlays (Light streams or bubbles) can be spread over the entire canvas if you wish by changing their size. Explore “Textures” for other over all effects.
8) Editing a saved photo
Create and save many versions. To use one you like,but it has an error, create a mask to cover the mistake. Let’s say I misspelled my name. I would go to picmonkey.com, click on “Design” and create a blue canvas to match the background blue behind my name. This is the mask. Save, naming it “blue box”.
Go back to picmonkey and click on “Edit” to choose the photo version you most like. Click on “Overlay”, “Choose your own” and find your file “Blue Box”. Now you can resize “Blue box” and fit it over the error (my misspelled name) in the main photo. Create a text box on top of the overlay and correct the error.
9) Vista Print
Visit www.vistaprint.com to choose the item you want to create… a poster. Select a size. Import your finished photo to fit inside the dotted lines of the Vistaprint design form. If you aren’t satisfied with the sizing, you can go back to PicMonkey to add a frame to your photo or put it on a new background canvas to make it bigger and able to be cut to fit into the poster size.
At this point you can add a QR code link to your website or to your book on Amazon. You may also add text and images, but the choices are more limited than working in PicMonkey. Preview the finished product. When satisfied, order a preview copy or the finished version of your creation.

